
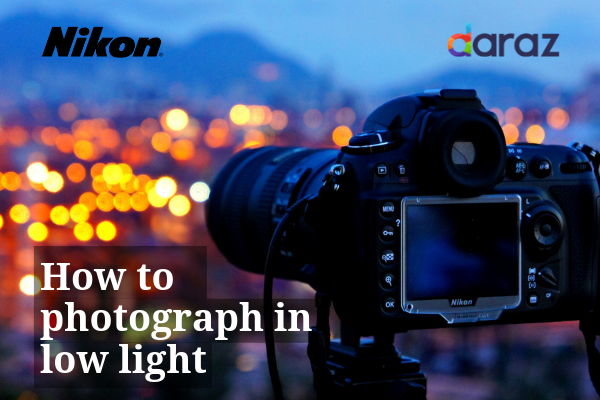
How to Photograph in low light
Low light photography is incredibly challenging.You might be shooting the same scene that you shot in the day time,but all the settings need to be changed as the light goes down.This is a common challenge that all photographers face.There are occasions where you will have to photograph indoor events and night functions.In such occasions,you will need additional skills apart from the technological advancement of your DSLR.

Perfect moments don’t get paused until perfect light fall in.To make the most out of your DSLR, we have listed down few lips that will help you capture better in low light conditions.
Types of Low light are threefold.
Visible – this includes shady areas that are covered in building or tree shadows during the day time.
Low light – this is after the sunset,in which we can still see objects.But in this light it’s hard to capture pictures.
Dark – this is when only the brightest objects are visible at night.
#1 Prep
Some pre planning can sure make low light photography much easier.Ask yourself questions like ‘what type of light will be there?’ ‘what kind of objects do I have to capture?’ to better understand the requirements.Plan ahead and take tripod,flash and your fastest lens when you are going for a low light shooting.Also it’s better if you can take a small flashlight with you to avoid struggling with the controls.
#2 Use a tripod
Lower light slows down the shutter speed which results in camera shaking.This is where a tripod comes in handy.Tripods helps you handle the slow shutter speed.Sure it can’t stop moving objects from shaking.But a tripod can avoid an entire picture from getting blurred due to a camera shake.
#3 Switch to manual mode
Low light photography technically make you to switch from auto mode to manual.But if you don’t have experience using the manual mode, try switching to shutter priority mode.This mode allows you to choose the correct shutter speed you need to capture.If you are shooting motionless objects with a tripod this mode helps you handle lower shutter speed well.
#4 Noise is better than the blur
Low light photography gives you the choice of noisy picture or a blurry picture.According to experts,noisy pictures are easier to be edited than blurred images.Therefore,always make sure the picture is not blurred.
#5 Know your gear better
You need to have a clearer understanding about the length that the ISO of your camera can be increased into.Check your snaps taken at each ISO by viewing them in 100% in your computer.That way you can have a better understanding about your gear.
#6 Widen the aperture
Low light photography means, you will have to let in as much as it is possible.This means the aperture has to be widened.Most of the DSLR cameras with a kit lens has an aperture of f/3.6 or lower.Therefore an advancement in aperture is essential even though it can be pricier.
#7 Don’t fear the flash
Many amateur photographers are scared to use the flash.If you know how to use the flash correct, then you have nothing to worry about.Try using the flash by manual controls and get the hang of it.

For excellent camera gear to kick start your photographer dream,visit Nikon at Daraz Avurudu Wasi and enjoy amazing deals and discounts.
Buy nikon on daraz mall and get upto LKR 7500 worth of freebies(Lens Cleaning Kit + Sandisk Memory Card + High Quality Camera Bag)